
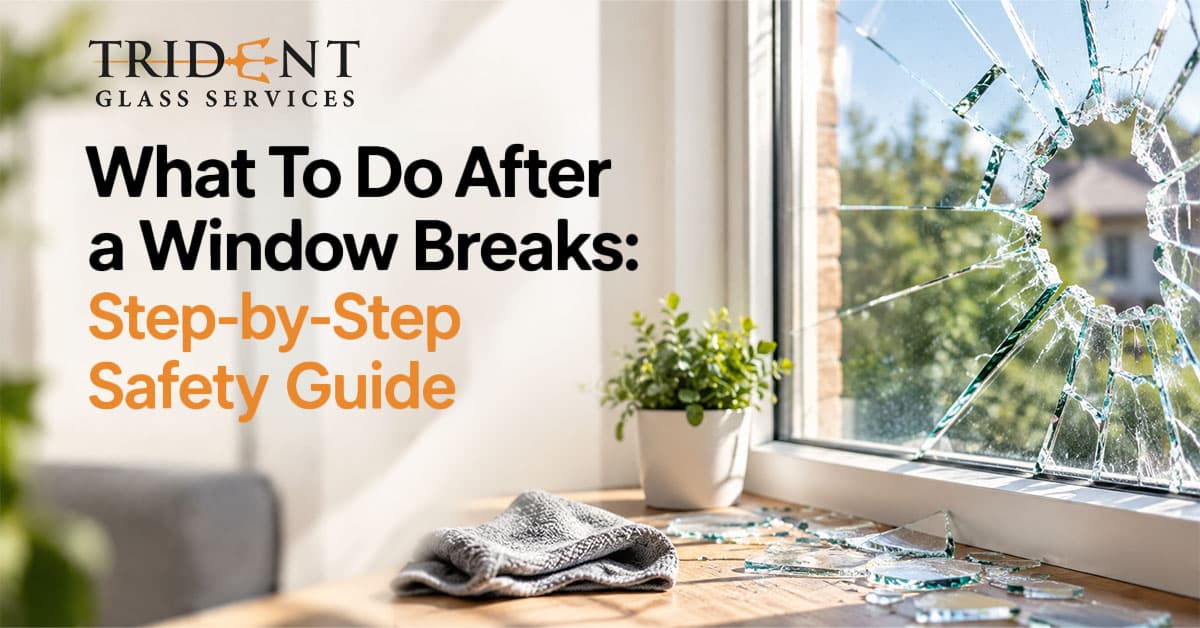
A sudden crack, a thud from outside, and a window that was fine ten minutes ago is now covered in fractures or missing a pane entirely. Whether it's a storm, a stray ball, or something less explainable, that first minute after a window breaks tends to be more confusing than people expect, adrenaline running, glass everywhere, and a fair amount of uncertainty about what to actually do first.
This guide walks through exactly that, a clear sequence of steps to follow immediately after a window breaks, covering safety, temporary containment, documentation, and how to decide whether the situation calls for a straightforward repair or something more involved before calling in glass replacement Sydney for a proper fix. Getting these steps right in order matters more than people assume, since skipping ahead, boarding up a window before checking for injuries, for instance, tends to create more risk rather than less.
Step One: Check for Injuries Before Anything Else
This sounds obvious written down, but it's easy to overlook in the moment, especially if the break happened somewhere unexpected or startling. The very first thing to do before touching any glass or even assessing the damage is to check everyone around you for cuts or injuries, including pets. Pieces of glass can fly farther than you think, especially if it’s tempered glass.
It's worth checking feet and hands specifically, since small shards can embed in skin without an obvious cut appearing right away, only becoming noticeable once someone walks across the room barefoot or brushes a hand along a nearby surface.
Step Two: Clear People and Pets From the Area
Once it's confirmed nobody's hurt, the next priority is keeping people and animals away from the affected space until the glass has actually been dealt with. Small children and pets are especially at risk here, since fragments can end up on carpets, furniture, and floors well beyond the immediate area around the window. Closing off the room, or at minimum blocking access to it, buys time to handle the cleanup properly rather than rushing it.
Step Three: Handle the Glass Safely, Not Quickly
Cleaning up broken glass calls for a bit more care than a regular spill. Thick gloves and closed shoes matter here, along with a systematic approach, larger pieces picked up by hand first, then smaller fragments swept into a dustpan, and finally a final pass with a slightly damp paper towel or lint roller to catch the tiny shards that vacuum cleaners and brooms tend to miss. Dispose of glass wrapped securely, ideally in a rigid container or thick packaging, rather than loose in a regular bin bag that could tear.
Vacuuming can help at the very end of this process, once the larger pieces are already gone, since it picks up the finer dust and slivers that a broom tends to just push around rather than collect. It's worth emptying the vacuum canister or bag straight after, rather than leaving glass dust sitting inside it, since sharp fragments can still cause a cut when the bag is next handled or changed.
Step Four: Secure the Opening Temporarily
Once the area is clear of glass, the opening itself needs covering, both for weather protection and security, especially if the break happens overnight or when a professional can't attend immediately. Plywood, a sturdy tarp, or heavy-duty plastic sheeting taped securely around the frame works as a short-term measure. This step matters more than people initially think, since an unsecured opening invites weather damage, pests, and in some cases, a security risk that outlasts the original break itself.
For ground-floor windows or doors, security matters just as much as weather protection, particularly if the break happened as a result of a break-in attempt rather than an accident. In that situation, it's worth notifying the relevant authorities before boarding anything up, since covering the opening too quickly can remove evidence that might otherwise support a police report or an insurance claim tied to the incident.
Step Five: Document the Damage Well
Before doing anything to repair the damage, take good pictures of the break itself, the frame around it, and any damage to the interior of the property caused by the break.This matters for insurance claims, which often require evidence of the damage and, in some cases, how it occurred. A few photos taken calmly, rather than a rushed shot after the fact, tend to make the claims process considerably smoother later.
It's also worth noting the approximate time the break happened and, where relevant, what caused it, whether that's a storm, a falling branch, or an accident inside the home. Insurers sometimes ask for this context alongside photos, and having it written down at the time, rather than trying to reconstruct it days later during a claims call, tends to make the whole process faster and less frustrating.
Step Six: Call a Professional Rather Than Attempting a Full Fix
It's tempting to treat a broken window as a DIY project, particularly for a smaller pane, but glass work carries real risk without the right tools and experience, both from handling sharp fragments and from properly sealing a replacement pane against the elements. Reaching out to a professional glazier for a proper assessment ensures the right glass type and thickness get specified for the location, rather than a generic pane that might not hold up the same way the original did.
Step Seven: Decide Between a Straightforward Repair and a Full Upgrade
Depending on the extent of the damage and the age of the existing window, this can be a reasonable moment to consider more than a like-for-like replacement. If the broken window was single glazed, upgrading to double glazing at the same time can improve insulation, reduce outside noise, and avoid paying for a second round of glazing work later if the original glass was already underperforming before it broke.
Why the Order of These Steps Actually Matters
Skipping steps, or doing them out of sequence, tends to create more problems than it solves. By boarding up a window before checking for injuries, you could miss a cut that needs attention. Remember, if you are cleaning up glass without gloves, you are risking unnecessary injury. Calling a glazier before documenting the damage can complicate an insurance claim later. Working through this sequence properly, even under stress, protects both the people involved and the property itself.
Trident Glass Services has handled residential and commercial glass emergencies across Sydney for over 14 years, working to Australian glazing standards on every job so a broken window gets replaced properly rather than patched together as a temporary fix that needs revisiting later.
That first confusing minute after a window breaks doesn't need to stay confusing for long. With the right sequence of steps, safety checked first, the area cleared, the glass handled properly, and a qualified glazier brought in at the right point, what felt like a real emergency becomes a manageable, fairly straightforward process from start to finish. And if the break turns out to be the push needed to finally upgrade an old single pane, double glazed windows Sydney is worth considering while the window's already being replaced.